

Metronome
Cantabile includes a metronome that serves two main purposes:
- As a general purpose metronome for practice
- To provide timing information for plugins (eg: step sequencers, synced loops etc...)
Showing the Metronome Toolbar
To show the metronome:
- Click the Metronome button on the main toolbar, or
- Press Ctrl+M
In either case, keyboard focus will be moved to the metronome.
To hide the metronome:
- Press the Metronome button again, or
- While the metronome has keyboard focus, press Shift+Escape.
You can also return focus from the metronome to the main plugin list by pressing Escape.
Metronome Controls

The metronome toolbar is divided into three sections: time signature, tempo and sounds. Most settings are self explanatory but note the following:
- Both time signature and tempo have a set of associated presets. To add or remove presets use the buttons at the bottom of each popup.
- The tempo can be adjusted by selecting a preset from the drop down, using the up/down arrow keys while the tempo indicator has focus, using the +/- buttons on the toolbar, or the slider.
- The last two controls enable the metronome sounds and adjust their volume. (See below for configuring metronome sounds).
- The current tempo and time signature are saved in the song file and in Cantabile Performer can also be controlled by states.
- The tempo presets, time signature presets and metronome sound settings are saved globally (ie: not per song).
Starting and Stopping the Metronome
The metronome can be started, stopped and paused using the transport controls on the main toolbar. The status panel will update to show the current transport position, timing information and current beat.

Synchronizing to an External MIDI Clock Source
Cantabile can also synchronize it's timing to an external MIDI clock source and act as a MIDI clock master to other devices. For more information about this, see MIDI Clock.
Routing Metronome Sounds
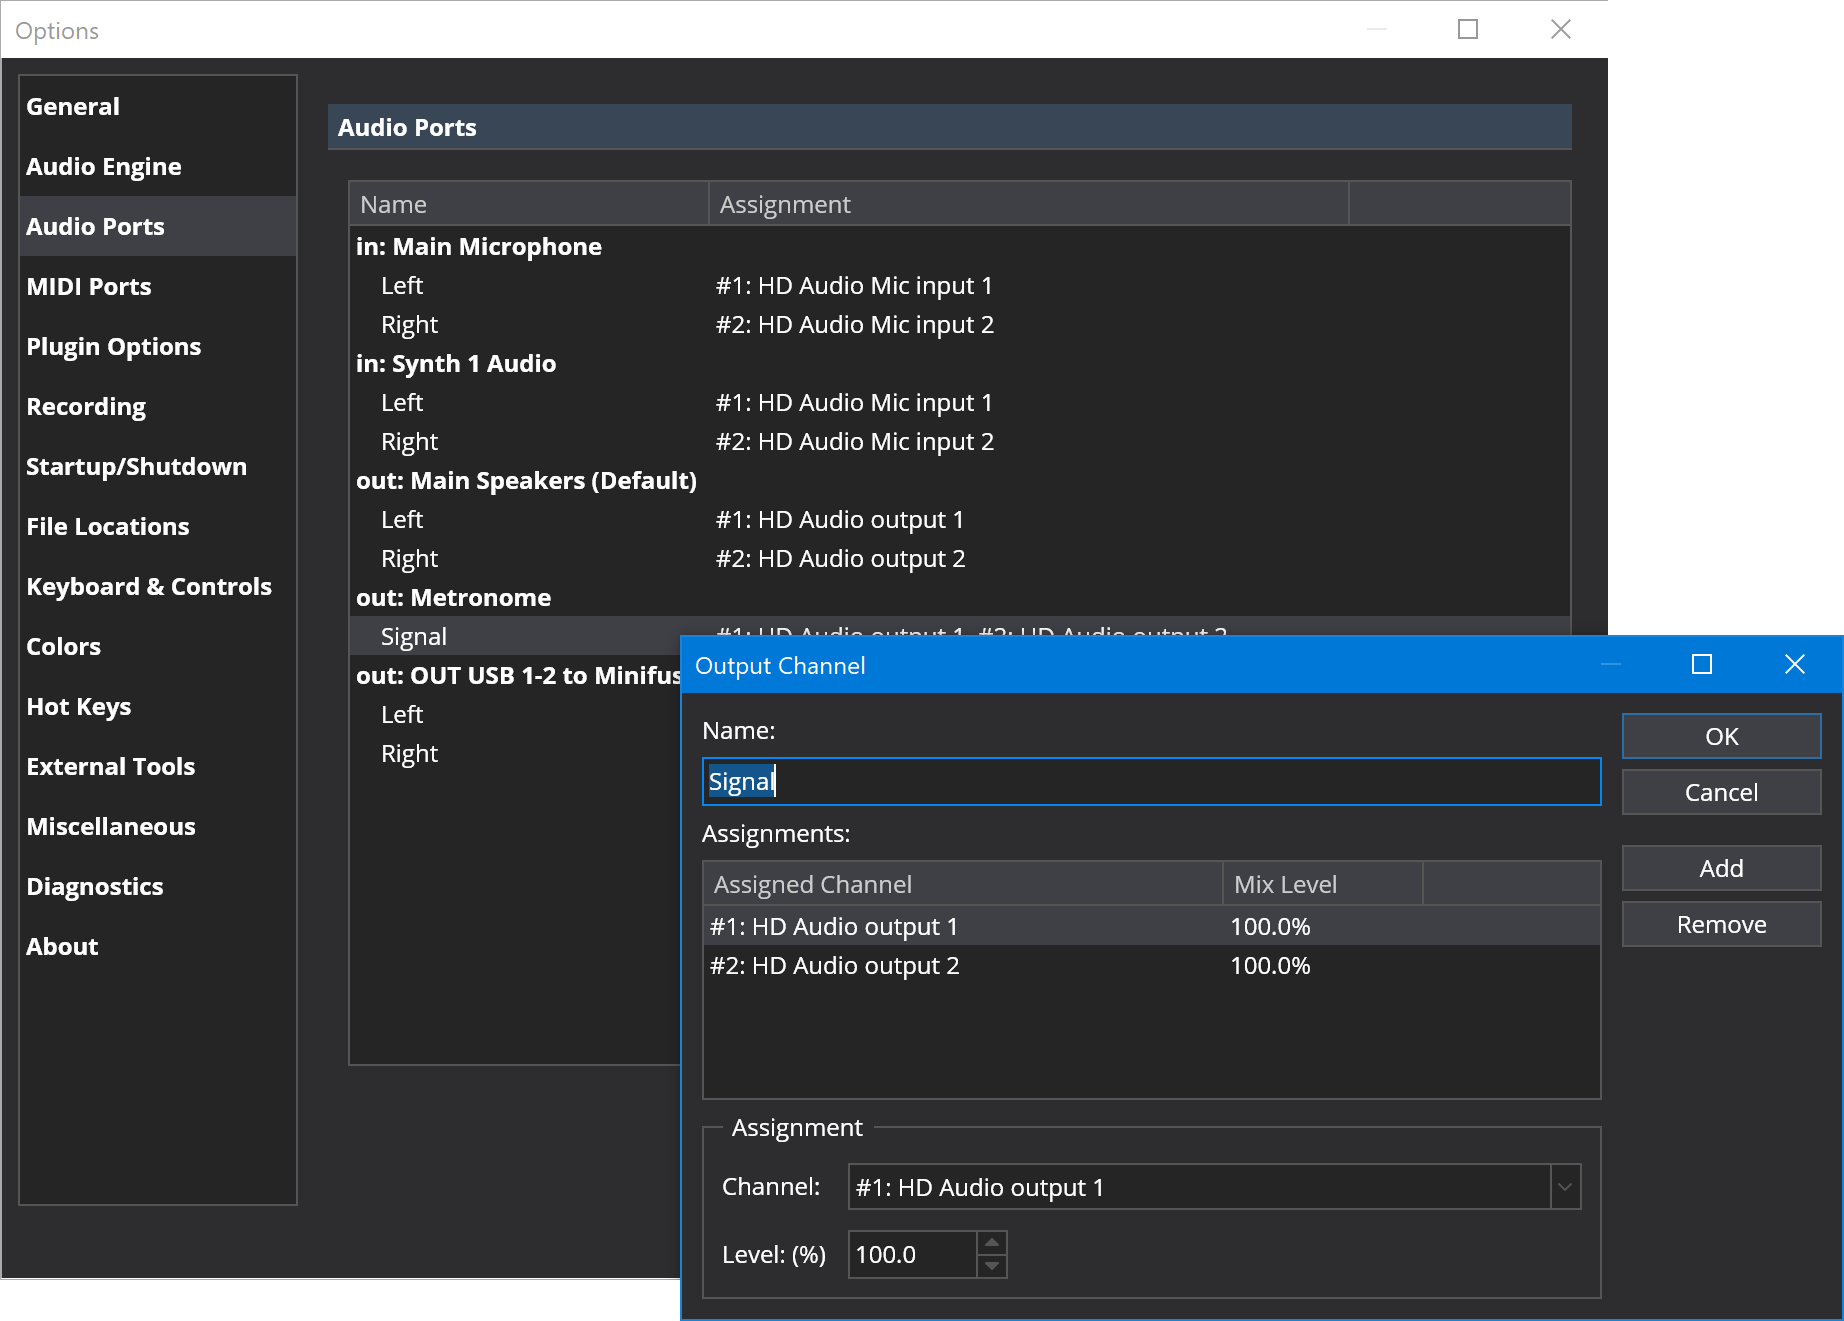
In order to hear sounds from the metronome you must configure an audio port named "Metronome". All metronome sounds are sent to this port. If it's not present, or not connected to active speaker channels you won't hear the metronome sounds.
Cantabile will automatically create an audio port for the metronome however you need to make sure the channel is mapped to at least one audio driver channel. In the following example the metronome signal has been mapped to both main speakers (HD Audio Output 1 and 2).
Tap Tempo and Tempo Flash Indicators
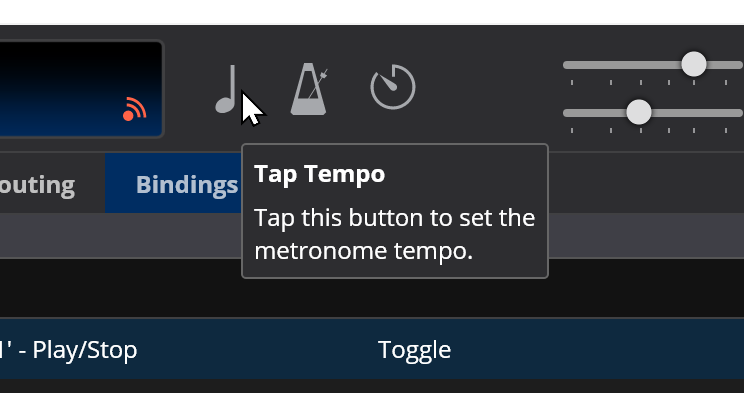
The metronome tempo can also be set by tapping the "Tap Tempo" button on the main toolbar (or the equivalent button on the controller bar):
You can also configure the Tap Tempo button to flash in time with the current tempo:
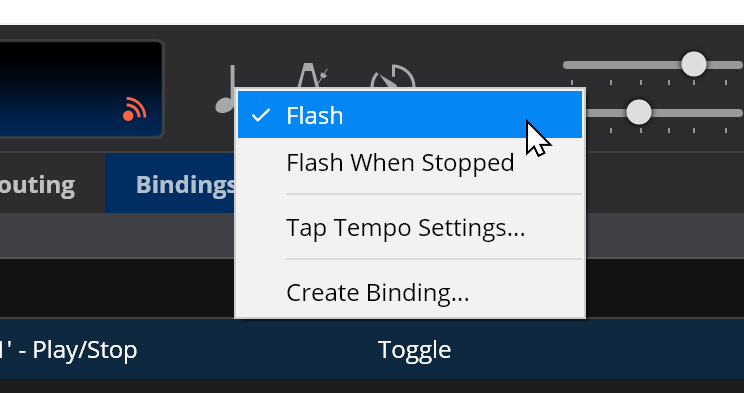
Right click on the Tap Tempo button and choose from the following:
- Flash - flashes in time with the current master transport when it's playing.
- Flash When Stopped - flashes in time with the master transport when playing but also flashes the current tempo even when the transport is stopped (but it's not synchronized with any timing information used internally by Cantabile).
The second option is useful if you don't actively use the metronome for timing but need a visual indicator of a specific tempo.
Tap Tempo Settings
By right clicking on the tap tempo button on the main toolbar, you can access various options that control how tap tempo behaviour:
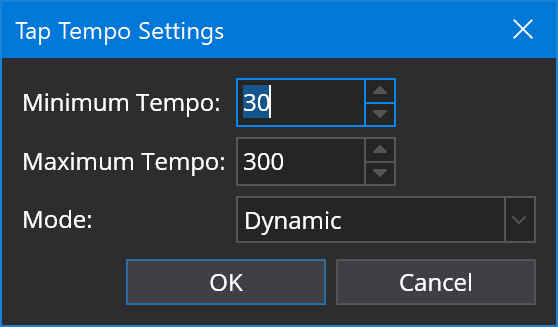
The minimum and maximum tempo settings constrain the range of tempos that will be detected. The Mode controls how the tempo is calculated:
- Dynamic - best for tracking dynamically changing tempo in real-time
- Moving Average - calculates an average tempo of the last 16 taps
- Overall Average - calculates an average tempo for every tap since the tempo detection was last reset. Best for calculating an accurate tempo over a long period of time.
The tempo detector resets itself after 2 seconds of receiving no taps.
Changing Metronome Sounds
There are two built in sound sets for the metronome - Classic and Modern, but you can also select custom sounds if you prefer.
You'll need two sounds files one for the first beat of the bar/measure and one for the other beats. These files must be wave files and only the first two seconds of each is used.
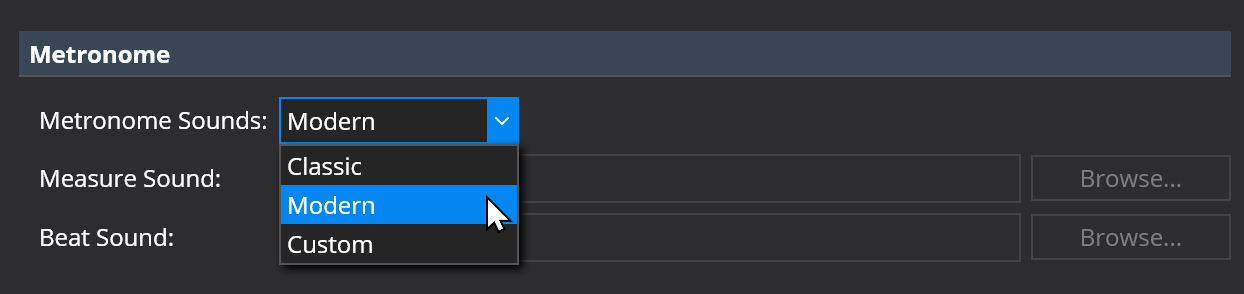
These settings can be found on the General options page.
Disabling Measure Sounds
By default the metronome sounds use a different sound for the first beat of each measure. You can disable this sound and use the same sound for all beats:
- Right click on the button to enable metronome sounds
- Choosing "Enable Measure Sounds" to toggle the measure sounds on/off.
About Metronome Bindings
Like most other settings in Cantabile the metronome can be controlled remotely via bindings. There are however a few nuances about the metronome bindings that you should be aware of.
The metronome tempo ranges from 30 to 300 bpm. Normal MIDI continuous controllers (CCs) however have a range of 0 - 127. The tempo binding supports setting a target range so you can set how to map the CC value onto a tempo.
The metronome time signature can be bound either by selecting a preset (the drop down time signatures in the metronome bar) or by direct bindings to the time signature numerator and denominator.
The numerator ranges from 2 to 12.
The denominator supports value 1, 2, 4, 8, 16 and 32. Other values will be ignored.
The denominator (2^n) binding accepts values where the denominator is calculated as 2^n and n is a value from 0 to 5. This matches the MIDI methods for specifying time signature denominators:
- 0 = /1
- 1 = /2
- 2 = /4
- 3 = /8
- 4 = /16
- 5 = /32
When creating bindings to the time signature the range should be set according to how you're trying to control the tempo. If you're binding a knob or slider to the time signature you should map the full range of the controller to the full range of the binding target.
eg: 0..127 → 1..12
This will allow moving the slider from one end to the other to select the full range of values.
If you're trying to programatically control these values you'll probably want to change the binding's range mapping to a 1:1 mapping
eg:
- Numerator: 1..12 → 1..12
- Denominator: 2..32 → 2..32
- Denominator (2^n): 0..5 → 0..5
This will let you send explicit values to directly set the metronome settings.